


Overview
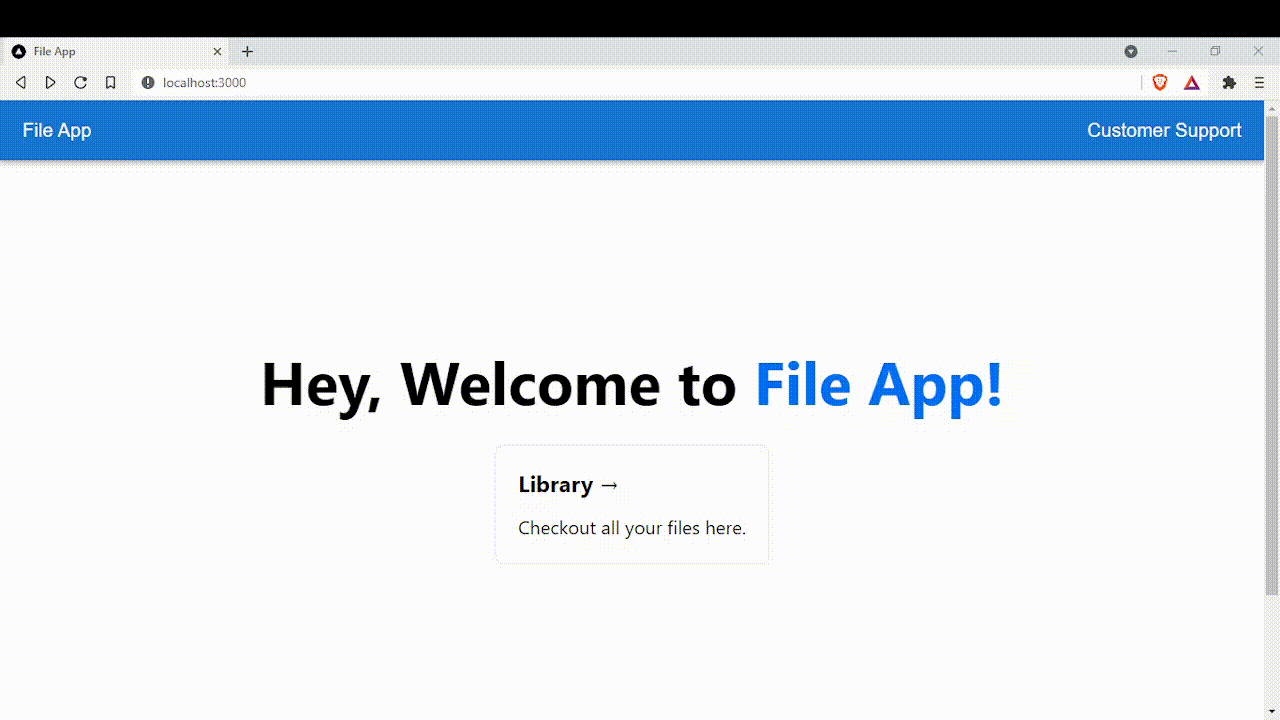
Welcome on board! In this series of articles, you'll learn everything you need to know about Next.js through project-based learning so you can get started with Next.js. If you have no idea what Next.js is, I highly recommend you to check out my newly released post here. Before we dive in, here is a sneak peek of what we're going to build:
If you've missed Part 2, I highly recommend you to check out Part 3 first before proceeding.
What is API routes?
API routes provide a seamless solution to build your API with Next.js. Next.js is literally a full-stack framework, it has a server, not just for development, for rendering components on your server, but also for an API! By definition, you can just ship an API next to your app with no extra configurations required.
All you have to do is navigate to your pages directory then api directory. Next.js has a simple API written for you which is the hello.js file.
/pages
  /api
    /hello.js
For example, the following API route localhost:3000/api/hello returns a JSON response with a status code of 200:
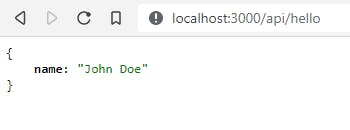
Boom! You've just experienced the power of API in Next.js.
Setup API Handlers
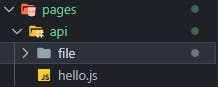
Before starting to write an API, we would need to create a nested folder name file inside api directory:
/pages
  /api
    /file
    /hello.js
Inside file directory, you'll need to create 2 files name [id].js and index.js.
/pages
  /api
    /file
      /[id].js
      /index.js
    /hello.js
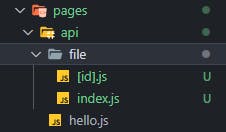
[id].js -> Represent the dynamic route. The id is the name of the parameter. You can name it whatever you want. Those brackets ([ ]) are not a typo, that's the syntax for creating a dynamic route using file name conventions in the file directory.
index.js -> We're telling Next.js we want this component to be the index route for this path. In our case, navigating to http://localhost:3000/api/file will render the data that we created in our mock database.
Writing API Handlers
A handler in Next.js should look like this:
export default (req, res) => {
  res.statusCode = 200
  res.setHeader('Content-Type', 'application/json')
  res.end(JSON.stringify({ message: 'hello' }))
}
But first, we'll need some way to use connect-based middleware, which would make building out these handlers much simpler.
In your terminal, run:
npm install next-connect
// or
yarn add next-connect
This command will install next-connect which is a library that enables developers to write minimal router and middleware layer for Next.js. Your package.json should look like this at this point:
{
  "name": "file-app",
  "private": true,
  "scripts": {
    "dev": "next dev",
    "build": "next build",
    "start": "next start",
    "lint": "next lint"
  },
  "dependencies": {
    "@emotion/react": "^11.5.0",
    "@emotion/styled": "^11.3.0",
    "@mui/material": "^5.0.6",
    "next": "12.0.2",
    "next-connect": "^0.11.0",  // Added next-connect
    "react": "17.0.2",
    "react-dom": "17.0.2"
  },
  "devDependencies": {
    "eslint": "7.32.0",
    "eslint-config-next": "12.0.2"
  }
}
It's time to create some API routes for our app. We'll need this API to do some basic CRUD (Create, Read, Update and Delete) operations.
Create file => POST /api/file
Read one file => GET /api/file/:id
Read all files => GET /api/file/
Update file => PATCH /api/file/:id
Delete file => DELETE /api/file/:id
In index.js, you'll need to create the handler like so:
// /pages/api/file/index.js

import nc from "next-connect";
import file_db from "../../../src/data/mock-db";

const handler = nc()
  .get((req, res) => {
    res.json({ data: file_db });
  })
  .post((req, res) => {
    const id = Date.now();
    const file = { ...req.body, id };

    file_db.push(file);
    res.json({ data: file });
  });

export default handler;
In [id].js, you'll then need to create another handler like so:
// /pages/api/file/[id].js

import nc from "next-connect";
import file_db from "../../../src/data/mock-db";

const getFile = (id) => file_db.find((n) => n.id === parseInt(id));

const handler = nc()
  .get((req, res) => {
    const file = getFile(req.query.id);

    if (!file) {
      res.status(404);
      res.end();
      return;
    }

    res.json({ data: file });
  })
  .patch((req, res) => {
    const file = getFile(req.query.id);

    if (!file) {
      res.status(404);
      res.end();
      return;
    }

    const i = file_db.findIndex((n) => n.id === parseInt.parse(req.query.id));
    const updated = { ...file, ...req.body };

    file_db[i] = updated;
    res.json({ data: updated });
  })
  .delete((req, res) => {
    const file = getFile(req.query.id);

    if (!file) {
      res.status(404);
      res.end();
      return;
    }
    const i = file_db.findIndex((n) => n.id === parseInt(req.query.id));

    file_db.splice(i, 1);

    res.json({ data: req.query.id });
  });

export default handler;
To test out if your API handler works, you'll need to navigate to this route http://localhost:3000/api/file:

If the API handler you built is successful, you should be able to retrieve data from the mock database as shown in the picture.
Conclusion
We've successfully created an API for our app! The final article in this series I will be writing is about data fetching in Next.js. If you're interested in following up with this tutorial which I will be releasing soon, do consider following me on Hashnode. Happy learning!